

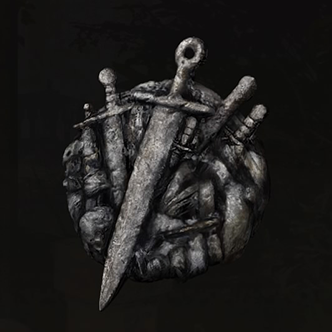
Elden Ring Dragoncrest Shield Talisman
Dragoncrest Shield Talisman is a type of Talisman in Elden Ring. Read on to learn Dragoncrest Shield Talisman's effects, location, lore description, and where to get it!
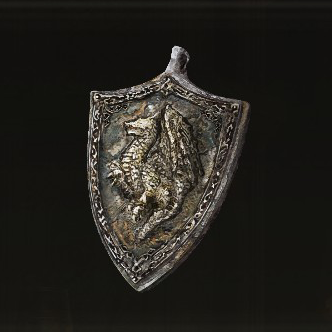 Dragoncrest Shield Talisman Dragoncrest Shield Talisman | |
| Effect | |
|---|---|
| Boosts physical damage negation. | |
| Blazon | Weight |
| Talisman | 0.eight |
| Lore Clarification |
|---|
| "Wrought fe talisman depicting an aboriginal dragon. Boosts physical damage negation. The ancient dragons, who ruled in the prehistoric era before the Erdtree, would protect their lord as a wall of living rock. |
 Dragoncrest Shield Talisman +ane Dragoncrest Shield Talisman +ane | |
| Event | |
|---|---|
| Greatly boosts physical damage negation. | |
| Blazon | Weight |
| Talisman | 0.8 |
| Lore Clarification |
|---|
| "Wrought iron talisman depicting a duo of ancient dragons. Greatly boosts physical damage negation. The ancient dragons, who ruled in the prehistoric era before the Erdtree, would protect their lord equally a wall of living stone. |
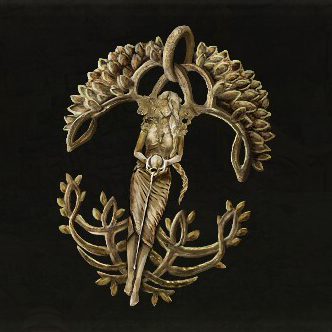
 Dragoncrest Shield Talisman +2 Dragoncrest Shield Talisman +2 | |
| Effect | |
|---|---|
| Vastly boosts concrete damage negation. | |
| Type | Weight |
| Talisman | 0.8 |
| Lore Description |
|---|
| "Wrought iron talisman depicting a trio of ancient dragons. Vastly boosts concrete damage negation. The ancient dragons, who ruled in the prehistoric era earlier the Erdtree, would protect their lord equally a wall of living rock. |
A bug in Version i.03 renders the Dragoncrest Shield Talisman unobtainable due to a killbox on the second tree root. Update the game to Version 1.03.ii to set up this bug.
You can notice the Dragoncrest Shield Talisman on the lowest part of the outer walls of the Unmerciful Sanctum in the Caelid region. Reaching the item requires advisedly jumping off platforms as one misstep leads to a one-hit KO.
Run into the table beneath to learn how to obtain the Dragoncrest Shield Talisman.
| Steps to Obtain the Dragoncrest Shield Talisman | |
|---|---|
| 1 | Head to the western part exterior the Unmerciful Sanctum in the Caelid region. Expect down to observe a part of a tree branch that you tin can jump off to. |
| two | Wait downwards again to find another set of tree branches. Jump off to this platform. |
| iii | Look left to discover a dome of a church. You can either walk or ringlet towards it to land safely. |
| four | From the dome, bound off to the wide area below it. |
| five | Look left to find the half curvation construction that extends to the lower part of the outer wall. Walk towards the ledge until you achieve the area marked with a red circle in the image above. |
| 6 | From the ledge, look downwardly to find another ledge that you can land on safely. Walk slowly every bit yous spring off. While falling, you can tilt the left thumbstick to move your character slightly to the management of the ledge. |
| 7 | From the ledge, expect towards the outer wall to discover some other ledge that you can bound towards. Summon Torrent and spring towards the ledge. |
| viii | Drop down to the wide expanse and motility towards the pillar'southward ledge marked with a scarlet circumvolve in the epitome to a higher place. |
| 9 | Head to the wider area of the pillar and look downwardly to observe a small ledge marked with a ruddy circle in the image in a higher place. Jumping towards this ledge allows you to country safely. |
| 10 | From the small-scale ledge, drop down to the wide area. |
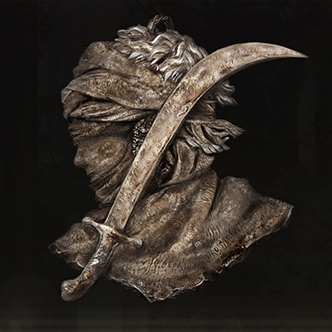
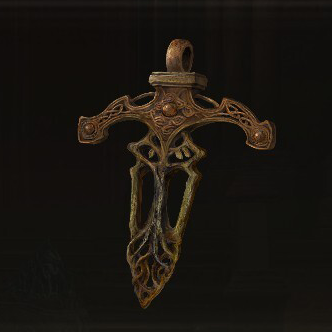
| 11 | Head north until you reach a balcony with statues. You can loot the body in this area to obtain the Cinquedea. |
| 12 | Head north from the balustrade by the giant bat enemy to find the dead trunk that contains the Dragoncrest Shield Talisman. |


| World Veiw | Map Location |
|---|---|
| View Full Image |  View Total Image |

You tin can notice the Dragoncrest Shield Talisman +one in one of the locked rooms inside Sainted Hero's Grave at the Altus Plateau. The cave can be found northeast of the Altus Highway Junction site of grace.
Sainted Hero'south Grave Location and What to Do
| Map Location |
|---|
| View Full Image |

You lot can find the Dragoncrest Shield Talisman +2 on the floating platform east of the Dragon Temple Lift in the Aging Farum Azula.
Crumbling Farum Azula Interactive Map and Region Guide
Listing of Items
 Spirit Ashes Spirit Ashes |  Primal Items Primal Items |  Crafting Materials Crafting Materials |
 Arrows and Bolts Arrows and Bolts |  Bolstering Materials Bolstering Materials |  Tools Tools |
 Talismans Talismans |
 Bequeathed Spirit's Horn Bequeathed Spirit's Horn |  Arrow's Reach Talisman Arrow's Reach Talisman |  Arrow'due south Sting Talisman Arrow'due south Sting Talisman |
 Arsenal Charm Arsenal Charm |  Arsenal Amuse +1 Arsenal Amuse +1 |  Assassin's Cerulean Dagger Assassin's Cerulean Dagger |
 Assassinator'southward Crimson Dagger Assassinator'southward Crimson Dagger |  Axe Talisman Axe Talisman |  Blest Dew Talisman Blest Dew Talisman |
 Blue Dancer Charm Blue Dancer Charm |  Blue-Feathered Branchsword Blue-Feathered Branchsword |  Boltdrake Talisman Boltdrake Talisman |
 Boltdrake Talisman +i Boltdrake Talisman +i |  Boltdrake Talisman +ii Boltdrake Talisman +ii |  Bull-Caprine animal's Talisman Bull-Caprine animal's Talisman |
 Carian Filigreed Crest Carian Filigreed Crest |  Cerulean Amber Medallion Cerulean Amber Medallion |  Cerulean Amber Medallion +1 Cerulean Amber Medallion +1 |
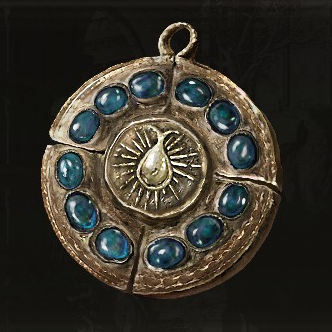 Cerulean Bister Medallion +2 Cerulean Bister Medallion +2 |  Cerulean Seed Talisman Cerulean Seed Talisman | 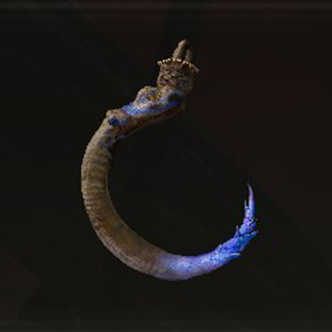 Clarifying Horn Amuse Clarifying Horn Amuse |
 Clarifying Horn Charm +one Clarifying Horn Charm +one | 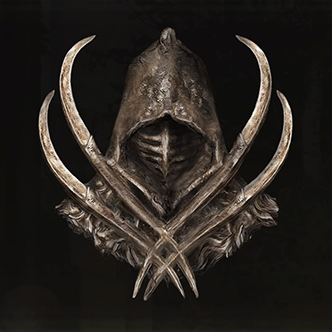 Hook Talisman Hook Talisman |  Companion Jar Companion Jar |
 Concealing Veil Concealing Veil |  Crepus's Vial Crepus's Vial | 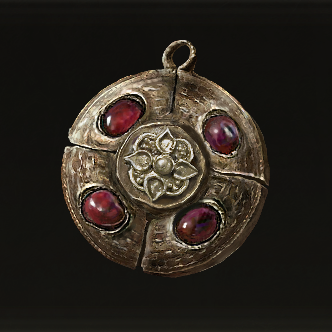 Crimson Bister Medallion Crimson Bister Medallion |
 Crimson Amber Medallion +1 Crimson Amber Medallion +1 |  Crimson Amber Medallion +2 Crimson Amber Medallion +2 |  Crimson Seed Talisman Crimson Seed Talisman |
 Crucible Feather Talisman Crucible Feather Talisman |  Crucible Knot Talisman Crucible Knot Talisman |  Crucible Calibration Talisman Crucible Calibration Talisman |
 Curved Sword Talisman Curved Sword Talisman |  Daedicar's Woe Daedicar's Woe |  Dagger Talisman Dagger Talisman |
 Dragoncrest Greatshield Talisman Dragoncrest Greatshield Talisman | Dragoncrest Shield Talisman | Dragoncrest Shield Talisman +1 |
| Dragoncrest Shield Talisman +ii | 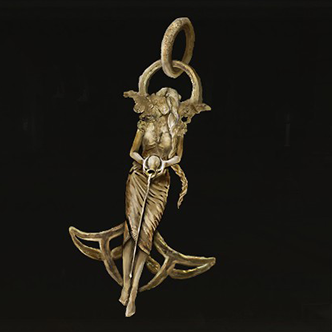 Erdtree's Favor Erdtree's Favor |  Erdtree's Favor +ane Erdtree's Favor +ane |
 Erdtree's Favor +2 Erdtree's Favor +2 | 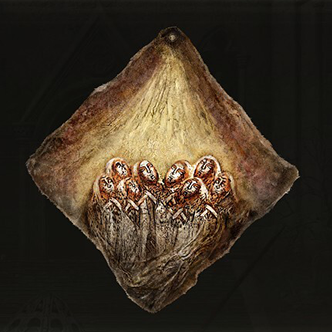 True-blue's Canvass Talisman True-blue's Canvass Talisman |  Fire Scorpion Amuse Fire Scorpion Amuse |
 Flamedrake Talisman Flamedrake Talisman |  Flamedrake Talisman +i Flamedrake Talisman +i |  Flamedrake Talisman +2 Flamedrake Talisman +2 |
 Flock's Canvas Talisman Flock's Canvas Talisman |  Furled Finger's Fob-Mirror Furled Finger's Fob-Mirror |  Godfrey Icon Godfrey Icon |
 Godskin Swaddling Fabric Godskin Swaddling Fabric |  Gilded Scarab Gilded Scarab |  Graven-Mass Talisman Graven-Mass Talisman |
 Graven-School Talisman Graven-School Talisman |  Great-Jar's Arsenal Great-Jar's Arsenal |  Greatshield Talisman Greatshield Talisman |
 Light-green Turtle Talisman Light-green Turtle Talisman |  Haligdrake Talisman Haligdrake Talisman |  Haligdrake Talisman +1 Haligdrake Talisman +1 |
 Haligdrake Talisman +2 Haligdrake Talisman +2 |  Hammer Talisman Hammer Talisman |  Host'due south Play a trick on-Mirror Host'due south Play a trick on-Mirror |
 Immunizing Horn Charm Immunizing Horn Charm |  Immunizing Horn Charm +1 Immunizing Horn Charm +1 |  Kindred of Rot'due south Exultation Kindred of Rot'due south Exultation |
 Lance Talisman Lance Talisman |  Lightning Scorpion Charm Lightning Scorpion Charm |  Longtail Cat Talisman Longtail Cat Talisman |
 Lord of Claret'south Exultation Lord of Claret'south Exultation |  Magic Scorpion Amuse Magic Scorpion Amuse |  Marika's Scarseal Marika's Scarseal |
 Marika's Soreseal Marika's Soreseal |  Millicent's Prosthesis Millicent's Prosthesis |  Moon of Nokstella Moon of Nokstella |
 Mottled Necklace Mottled Necklace |  Mottled Necklace +ane Mottled Necklace +ane |  Old Lord's Talisman Old Lord's Talisman |
 Pearldrake Talisman Pearldrake Talisman |  Pearldrake Talisman +i Pearldrake Talisman +i |  Pearldrake Talisman +2 Pearldrake Talisman +2 |
 Perfumer's Talisman Perfumer's Talisman |  Central Glintstone Bract Central Glintstone Bract |  Prince of Death's Pustule Prince of Death's Pustule |
 Prosthesis-Wearer Heirloom Prosthesis-Wearer Heirloom |  Radagon Icon Radagon Icon |  Radagon'due south Scarseal Radagon'due south Scarseal |
 Radagon'due south Soreseal Radagon'due south Soreseal |  Crimson-Feathered Branchsword Crimson-Feathered Branchsword |  Ritual Shield Talisman Ritual Shield Talisman |
 Ritual Sword Talisman Ritual Sword Talisman |  Roar Medallion Roar Medallion |  Rotten Winged Sword Insignia Rotten Winged Sword Insignia |
 Sacred Scorpion Charm Sacred Scorpion Charm |  Sacrificial Twig Sacrificial Twig |  Shabriri's Woe Shabriri's Woe |
 Shard of Alexander Shard of Alexander |  Silver Scarab Silver Scarab |  Spear Talisman Spear Talisman |
 Spelldrake Talisman Spelldrake Talisman |  Spelldrake Talisman +1 Spelldrake Talisman +1 |  Spelldrake Talisman +2 Spelldrake Talisman +2 |
 Stalwart Horn Charm Stalwart Horn Charm |  Stalwart Horn Charm +one Stalwart Horn Charm +one |  Stargazer Heirloom Stargazer Heirloom |
 Starscourge Heirloom Starscourge Heirloom |  Taker'south Cameo Taker'south Cameo |  Twinblade Talisman Twinblade Talisman |
 Two Fingers Heirloom Two Fingers Heirloom |  Viridian Amber Medallion Viridian Amber Medallion |  Viridian Bister Medallion +1 Viridian Bister Medallion +1 |
 Viridian Bister Medallion +2 Viridian Bister Medallion +2 |  Warrior Jar Shard Warrior Jar Shard |  Winged Sword Insignia Winged Sword Insignia |
-
Elden Ring Guide & Walkthrough Wiki
-
Items
-
Talismans
-
How to Get Dragoncrest Shield Talisman: Effects and Locations

Elden Ring Dragoncrest Shield Talisman,
Source: https://game8.co/games/Elden-Ring/archives/370622
Posted by: mcnealancen1988.blogspot.com
0 Response to "Elden Ring Dragoncrest Shield Talisman"
Post a Comment